A Trading Prep Routine for GEX, Volume Profile, and Order Flow
Build a concise research routine that separates context, location, confirmation, and risk, then journal evidence without counting the same input repeatedly.
By OrderMap Research4 min read
On this page
Give every tool one job
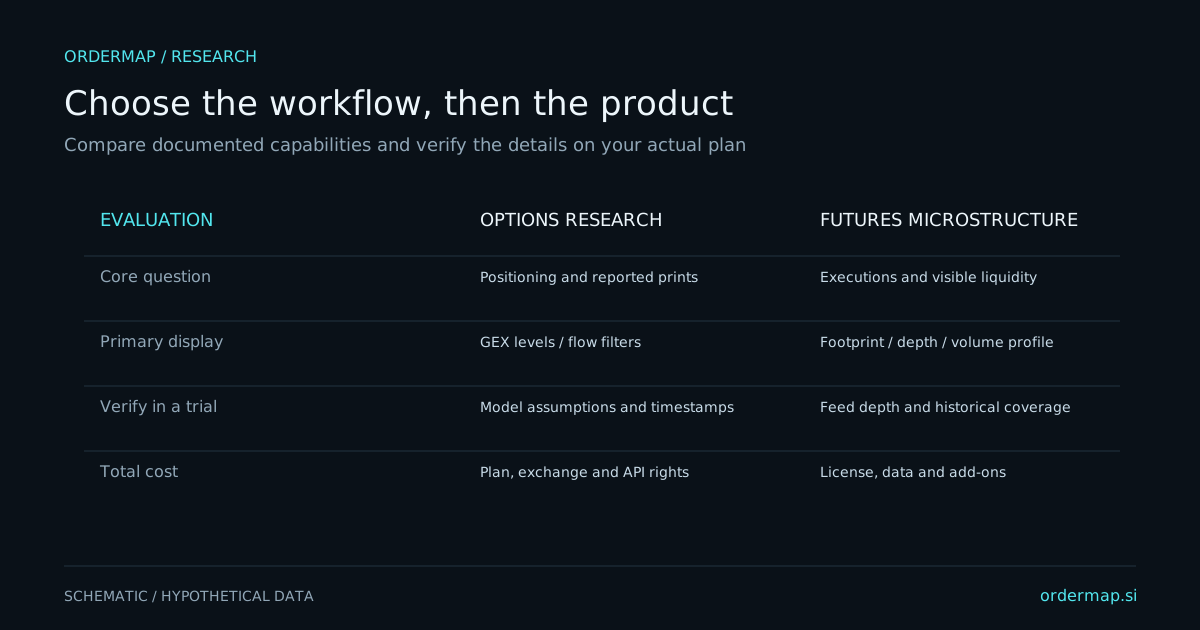
A screen full of indicators can create the impression that every decision has abundant confirmation. Often several indicators summarize the same prices or transactions. A useful preparation routine gives each layer a distinct job: context frames the environment, location identifies where to observe, flow describes the current interaction, and risk determines whether a possible action fits the plan.
GEX can supply a model-based context hypothesis. A volume profile can describe prior acceptance. A footprint can show executed aggression near a reference. None should be allowed to substitute for the others' limitations. The point is a decision process that can be reviewed, rather than a dashboard that always tells a convincing story.
Start with data quality and the calendar
Before interpreting a chart, verify the instrument, actual futures contract where relevant, session, timezone, and source timestamps. Distinguish live observations, delayed data, prior clearing-day open interest, and missing history. A model built from mismatched times can look precise while answering the wrong question.
Check scheduled releases from their official publishers. Record the event times that affect your intended holding window, including whether an options expiration contains the event. Do not rely on a remembered calendar or assume yesterday's session hours apply on a holiday.
Then write one sentence about the current state: inside prior value, outside prior range, developing a second distribution, or unclear. A simple state description anchors the preparation without committing to a direction prematurely.
Build a small map
Choose only a few references that answer your question. A prior value boundary, an overnight extreme, and a modeled gamma transition region may be enough. Record why each belongs on the map and what observation would make it less relevant.
| Layer | Example input | Decision it can support |
|---|